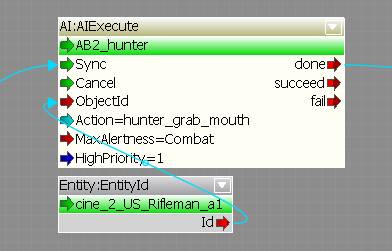
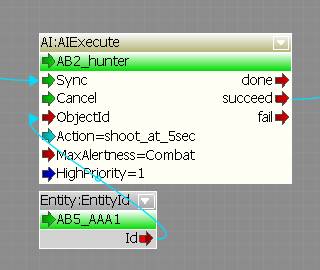
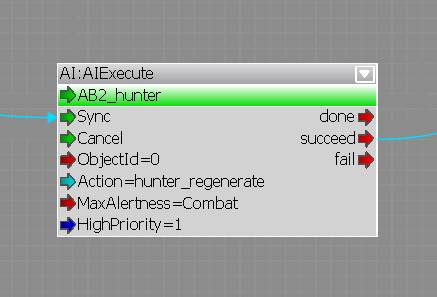
In this tutorial, I have assumed basic skills with flowgraph and basic knowledge of editor functionality, such as how to place objects and create area shapes.
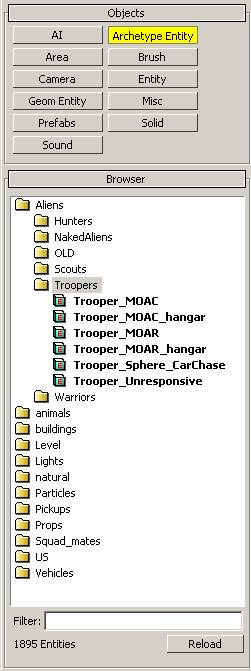
Trooper_MOAC A trooper that fires ice shards.
Trooper_MOAC_hangar A Trooper_MOAC with some behavioral tweaks for internal situations
Trooper_MOAR A trooper that fires an ice beam.
Trooper_MOAR_hangar A Trooper_MOAR with some behavioral tweaks for internal situations
Trooper_Sphere_CarChase Not used
Trooper_Unresponsive Used for situations where the trooper should not react to the player (for example cutscenes).
TrooperDoorway01 Allows the trooper to enter a doorway
TrooperDoubleBounceLeft Allows the trooper to bounce between two walls
TrooperHangOnCeiling Allows the trooper to hang on to the ceiling.
TrooperHangOnCeiling5 Allows the trooper to hang on to the ceiling at 5m.
TrooperHut3m Allows the trooper to jump from the ground to a 3m high platform. The platform must have an associated nav area setup.
TrooperHut5m Allows the trooper to jump from the ground to a 5m high platform. The platform must have an associated nav area setup.
TrooperJump12mLong Allows the trooper to jump a gap of 12m.
TrooperJump6mLong Allows the trooper to jump a gap of 6m.
TrooperJumpOff Allows the trooper to jump off cliffs.
TrooperJumpOff10m Allows the trooper to jump off cliffs away from the edge.
TrooperJumpOff2m Allows the trooper to jump off cliffs close to the edge.
TrooperNavSingleBounceWall Allows the trooper to bounce off a wall. Used for navigation only.
TrooperSingleBounceWall Allows the trooper to bounce off a single wall. The trooper can stop and fire along the wall while on the wall, so make sure you point the smart object in an appropriate direction
TrooperSmallRock1_5m Allows the trooper to jump and hang on to a flat horizontal surface and behave like a turret, firing continuous, precise streams of ice shards at the enemy.
TrooperVaultLTV Allows the trooper to vault over an LTV
TrooperVaultOverFenceHigh Allows the trooper to vault over a high fence.
TrooperVaultOverFenceHighLong Allows the trooper to vault over a high fence. Start and end point are further from the fence.
TrooperVaultOverFenceLow Allows the trooper to vault over a low fence.
TrooperVaultOverFenceLowLong Allows the trooper to vault over a low fence. Start and end point are further from the fence.
TrooperDoorway5m Not used
TrooperHut1_5m – not used Not used
Correct
All circular points on the smart object should remain clear of obstruction.
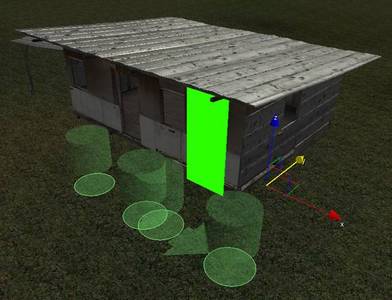
Any objects used for alignment should remain flat to a visual surface, adjacent to the circular points. The above is for a “bounce off walls” smart object – the guide object is flat to the wall, while the guide spots remain clear.
For example, a door smart object should remain aligned to the doorframe.
This is NOT a navigation smart object. The trooper can access this point from anywhere close, by jumping to it.
Smart objects with box alignment spots should be aligned so their most important face is aligned to the appropriate visuals.
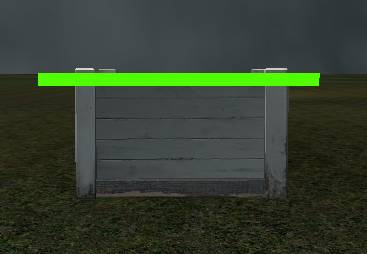
For example, the below is a trooper jump point. The trooper will land on top of the smart object, and therefore the top of the object should be aligned to the solid upper face of the target visual object.
Notes:
If multiple jump spots exist on the same surface, the trooper will select the closest one, and ignore the others. That means, if you surround one jump spot on all sides with others, the first will never be used.
Consider using multiple height layers when setting up an area for troopers, and prevent their firing lines overlapping.
Also worthy of noting. This smart object has no entry and exit point, so it will not be used for navigation, only as an attack point. * *
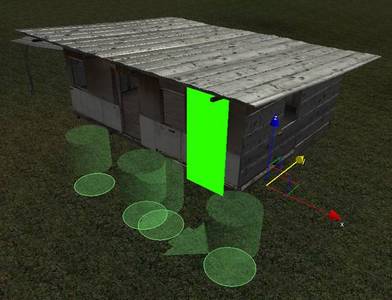
The bounce on wall smart object can also be used by a trooper as a spot to land and fire at the player. So, when placing these, consider that the trooper will be faced in a certain direction, and therefore aim the trooper in a direction dangerous to the player.
Jump to ceiling smart objects should be aligned as shown. The entry spot is aligned to the floor, and the hanging spot aligned to the ceiling. 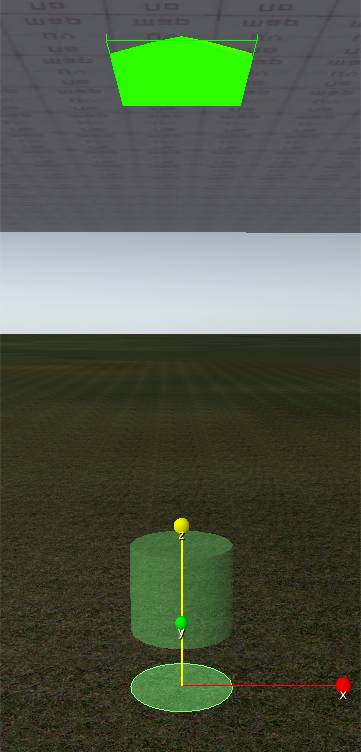
* *
The same applies for objects with a more complex boundary on an object. The below shows a “vault over LTV” smart object. It should be aligned to the important faces of the target object. For ease of use in this case, the smart object can be aligned directly to the Crysis LTV and rotated into position.
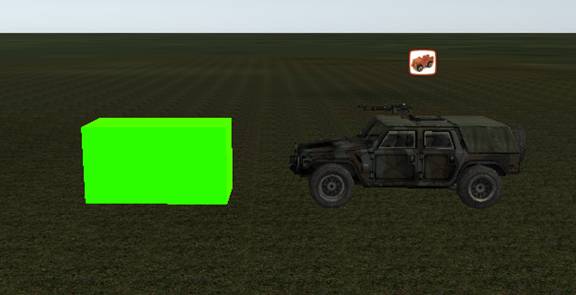
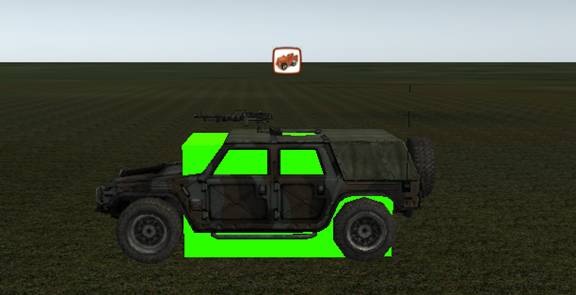
As normal, carefully place a nav area with a height on your desired area, as shown above. The settings should something like as below.
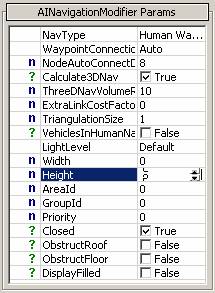
Next, place some normal Human Waypoint AI points on the area, and regenerate links.
Now, correctly place down some appropriate entry/exit smart objects – in the overview picture previously, we use TrooperHut3m smart objects.
Scout_MOAC_Ascension A scout that fires ice shards. Used in VTOL based levels.
Scout_MOAC_High_Health A scout that fires ice shards. Increased health in the archetype
Scout_MOAC_Warrior A scout that fires ice shards. Used in the endgame Warrior fight.
Scout_MOAR A scout that fires an ice beam.
Scout_MOAR_Invul_to_AI A scout that fires an ice beam and is invulnerable to other AI fire.
Scout_Unresponsive A scout that does not repond to external influences.
Scout_Unresponsive_MOAC A scout that fires ice shards. Does not repond to external influences.
Scout_Unresponsive_SO
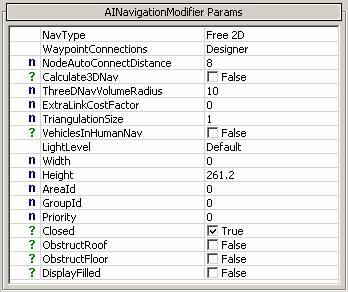
Firstly, place an AINavigationModifier in your level, around the area in which you want your scouts to fly.
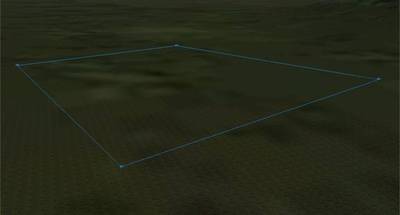
Next, set up the area correctly, using the parameters below.
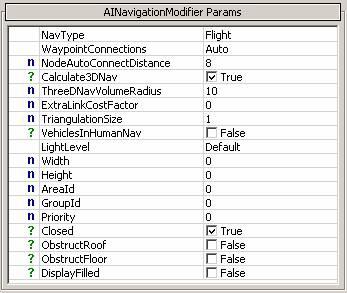
Next, regenerate the flight navigation in your level, and your scouts should be able to fly around.
A scout can carry up to 4 troopers at a time. These troopers and their scout must be placed in the level as preparation.
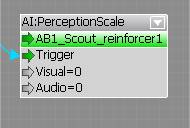
Firstly, the scout needs to be setup so it doesn’t get distracted while it is grabbing the troopers. Use the below node.
Next, the scout needs to grab the troopers. The scout must grab troopers one at a time. Therefore, link the succeed outport of the node to the Sync input of the next AIGrabObject node, so they are triggered sequentially. A single grab flownode setup should be as below – the scout assigned to the grab node and the trooper EntityId fed into the objectId port.
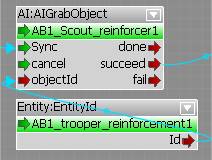
Note: The scout grabbing troopers should be done out of visible range of the player.
After the scout has the troopers, you need to send it along a path. So, first, you need to create a path. Use the AIpath object, found in the rollup bar/AI. Make sure your path is in the air, and its route nice and clear.
Next, assign the scout and path to an AIFollowPathSpeedStance node, and trigger it once the last trooper has been picked up.
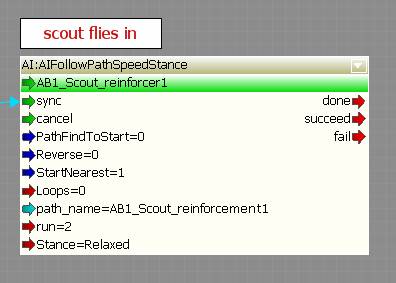
Next, we need to drop the troopers. Create a ProximityTrigger, and place it across your path where you want the scout to start to let go.
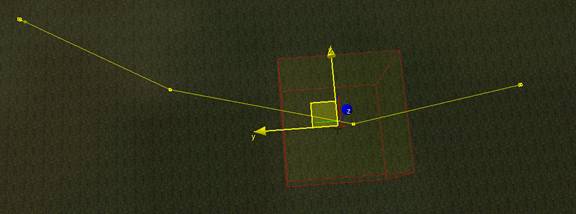
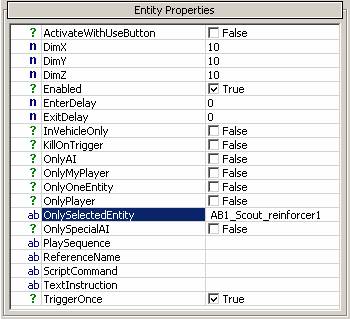
Set up your trigger to activate when the scout enters, by assigning it in the “OnlySelectedEntity” field.
Now, you need to use this trigger to activate the following flowgraph. It will make the scout drop all objects, scream and revert to normal behavior.
Firstly, place down a nav area around where you want your hunter to walk.
Next, set up the area as below.
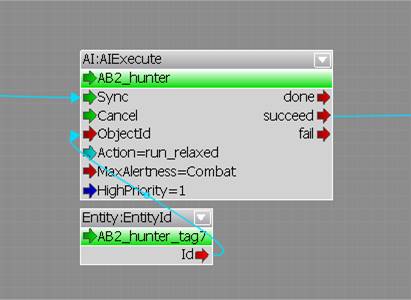
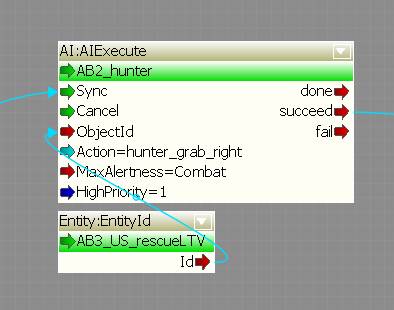
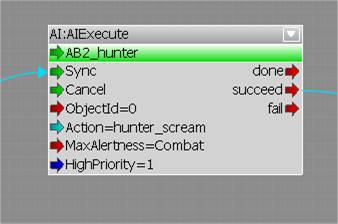
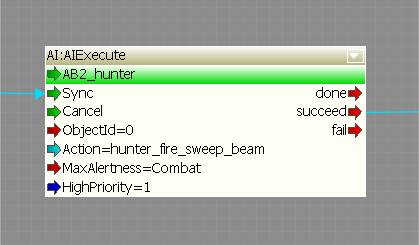
Below are some important flownodes for the hunter.
