This document will give a short overview of how to create terrain layers and paint them on to the terrain. The creation of different terrain types works like the painting in layers in the common 2D graphic designing programs. For the painting of terrains it is necessary to use a few different components of the Sandbox2.
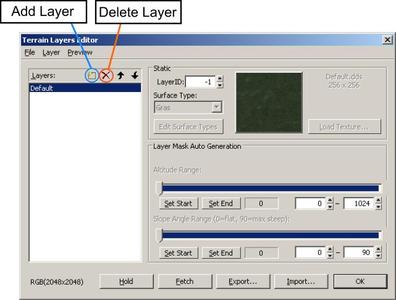
By clicking on the icon to the left of the red X a new layer will be created. By default the cursor will jump into that bar of the new layer so it can be named directly after creation. It is suggested to name the layers in a way that declares what it is used for.
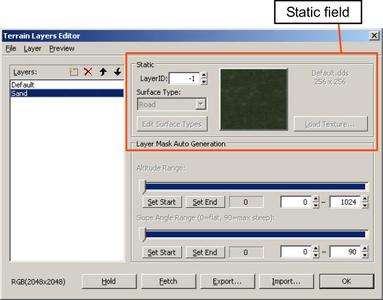
The LayerID will be set to -1 by default. This LayerID will be changed automatically when the Layer is used first time. It is generally not a good idea to change the LayerID by hand.
Click the Edit Surface Type button again. Note: Immediately after creating a layer, some of the Terrain Layers Editor, including the Edit Surface type button, becomes unselectable. Select another layer and then select the previous one again to enable the inactive components.
Now, click Add in the Surface Types window, to create a new type and then click Rename and type an appropriate name.
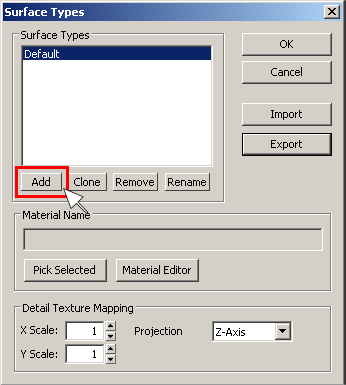
Next, open the Material Editor
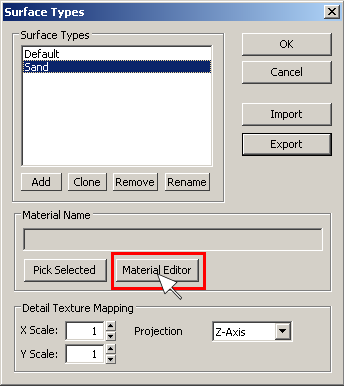
Now, select a material from the terrain folder.
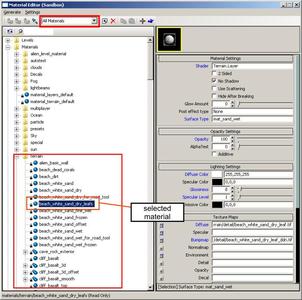
After choosing the desired material by highlighting it, close the Material Editor, and the previous window will show again.
Now, click the Pick Selected button and then OK. If you click only OK then the material you highlighted will not be saved.
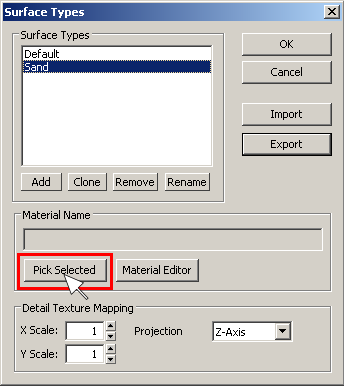
Now you have created your surface type, you need to assign it to your Terrain Layer, by selecting it from the Surface Type drop-down list.
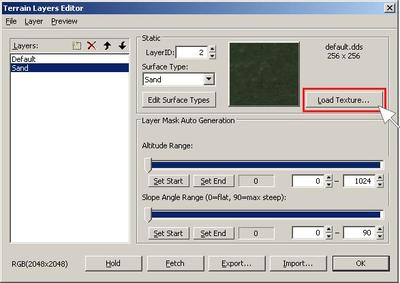
A list of available textures will appear – select one and click Open.
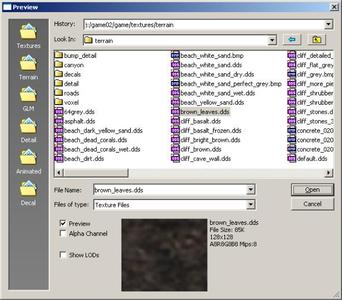
Now click OK until you arrive back at the main perspective viewport, and you will have a complete terrain layer, ready for use.
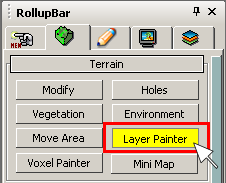
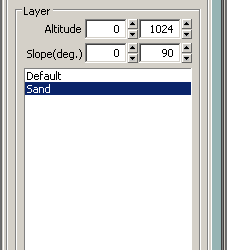
After selecting this, a little way below the available materials can be found.
In the now available Brush Settings menu are two sliders to modify your brush.
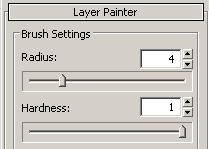
The Radius slider changes the size of the brush
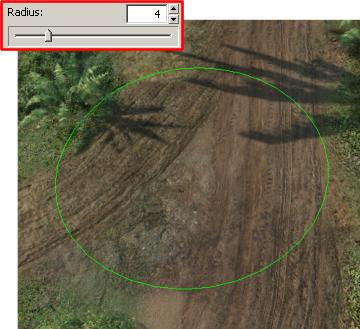
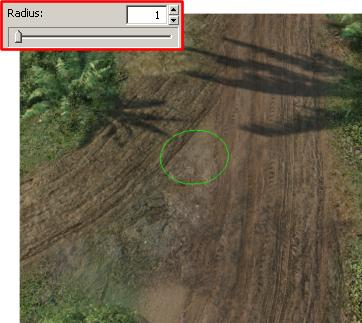
The Hardness slider changes the strength of the brush. A lower value will give a softer effect.

And a higher value makes it stronger.

Now, click and hold the mouse button in the perspective viewport and move the mouse around. The terrain will change the texture wherever the brush is.
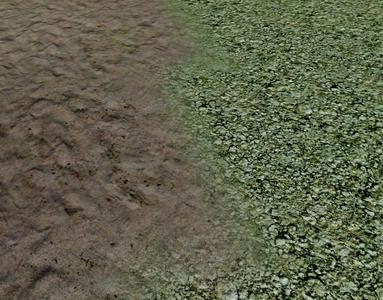
The Filter option gives the ability to modify the basic color of the paintbrush.

Select the color tab in the Tool. The color selection box will be open.
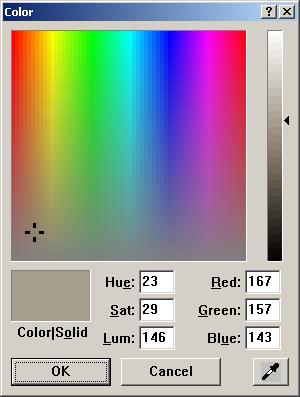
Chose a new color in the main window and tweak the brightness to what ever you want.
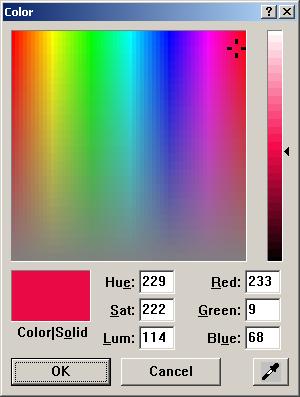
Click OK. The Filter option will show the new selected color.

Now, click and hold the mouse button in the perspective viewport and move the mouse around. The terrain will change the texture with the new color wherever the brush is.
As you can see, a well painted terrain can look very realistic. If you have a good vegetation setup and good brush placement, you can achieve incredible results.