There are 3 types of cloud entities that can be placed:
Drag and drop a cloud entity into the level:
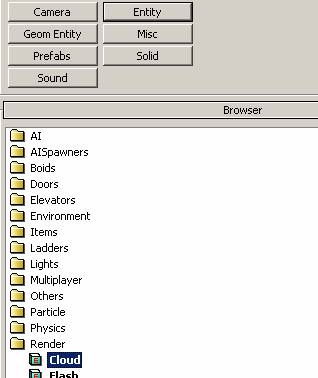
Place it at above 1000 meter (z value = 1000)
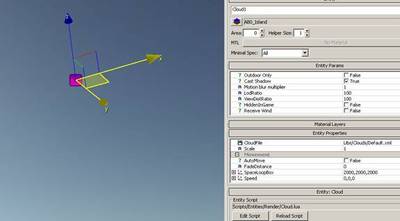
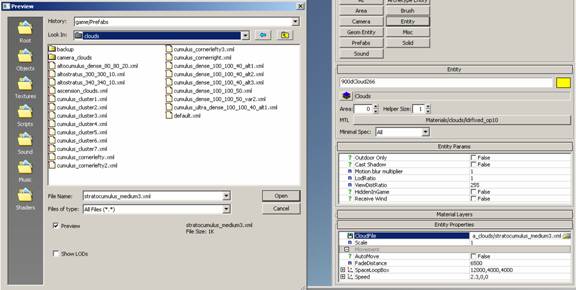
Click the select file button (
) in the cloud file property field of the cloud entity to select one of the cloud objects in the game/libs/clouds folder:
Open the material editor and assign one of the cloud materials (in materials/clouds folder) to you cloud if you don’t like the default baseclouds material:
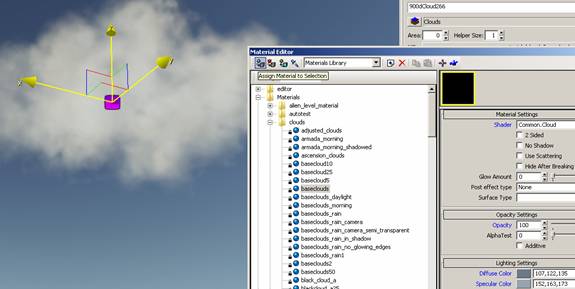
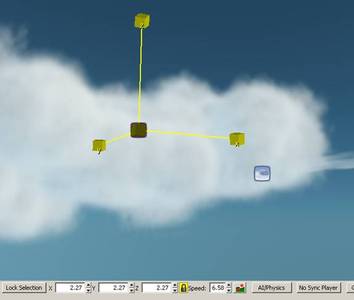
Scale it with the scale tool: 
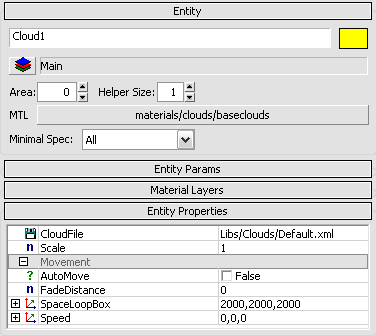
Cloud Movement To make the clouds move, set the automove property to TRUE and set a fade distance to 100 to make them fade in when they reach the edge of the box in which they are moving. Then you need to define how big the box (spaceloopbox) should be in which they are moving from one end to the other. Finally you need to set a speed at which they should be moving. For normal clouds you can use 5 as speed value and for storm clouds about 15. Experiment a bit but remember if you want to select a cloud its wise to turn off automove, otherwise you might not see the cloud you have selected.
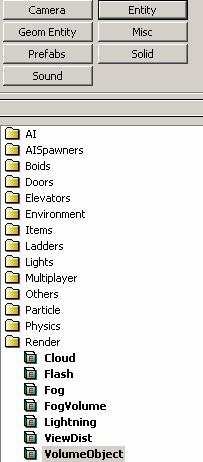
Drag and drop a volume entity into your level to place a cloud with nice shading.
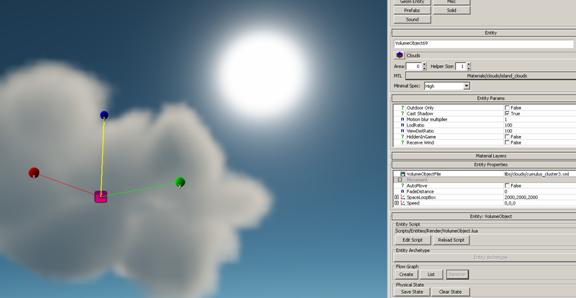
Follow the steps explained in the 3D Clouds section above to change look, movement and shading of the volume object cloud.
The difference to the normal 3d cloud is that volume object clouds will have correct self shadowing and can be rotated:
Do not place too many of the volume object clouds as they affect the performance.
Note: If you assign a new material go sure that it has the correct shader applied. For volume clouds you have to assign the “volumeobject” shader under material settings.
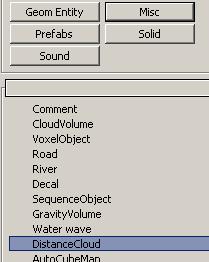
Drag and drop the distance cloud entity to your level:
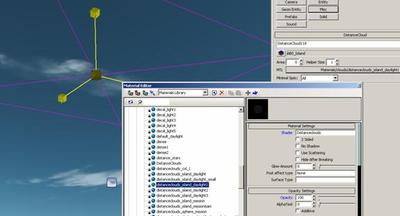
Scale it with the scale tool to about 100, then assign one of the distancecloud materials (all materials with Distanceclouds shader in materials/clouds folder can be used):
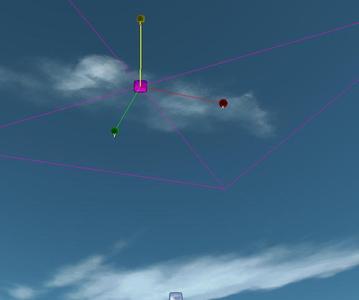
Distance clouds are 2D so they should be placed far away or above so that the player does not see that they are flat:
Cloud Shadows : Clouds don’t cast realtime shadows but there can be a (moveable) texture used that is casted on the entire level creating the illusion that clouds cast shadows: 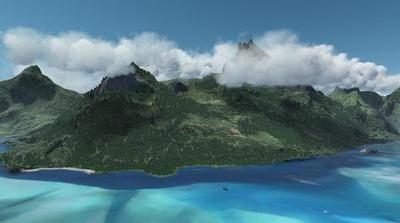
Use the default cloud shadow texture (textures/clouds/cloud_pattern.dds), adjust it in photoshop (paint white color at the areas where you don't want to have shadows)
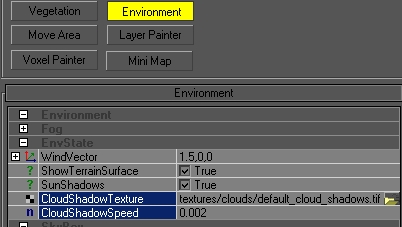
Set the Cloud Shadow Speed to 0.001 for fast moving clouds and 0.0005 for normal clouds.
Drag and drop the particle effect entity into your level:
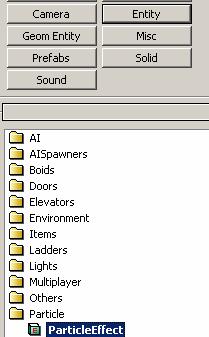
Add this particle effect to your rain area: rain.rain.space_loop
To assign this particle effect to your particle source you need to put the name of the effect you want use into the particle slot. Just copy rain.rain.space_loop and paste it into the slot Adjust the count scale to get more rain drops.
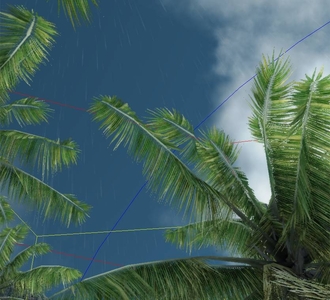
To limit the effect to a certain area of your level simply make a shape and use the pick tool of the shape to select your particle system that should be activated and deactivated if the player crosses the border of the shape:
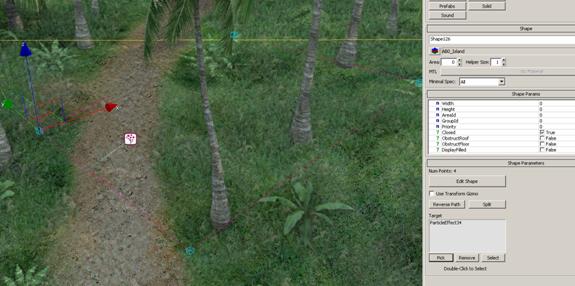
Drag and drop the particle effect entity into your level:
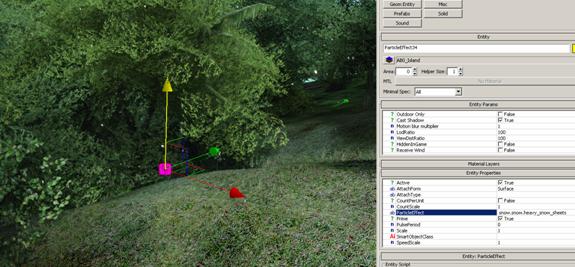
To add this particle effect copy the name ( snow.snow.heavy_snow_sheets) and paste it into the particle slot. Adjust the count scale to get more snow flakes rendered.
To limit the effect to a certain area of your level simply make a shape and use the pick tool of the shape to select your particle system that should be activated and deactivated if the player crosses the border of the shape:

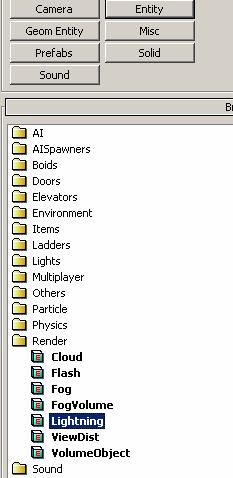
Add the lightning entity to your level
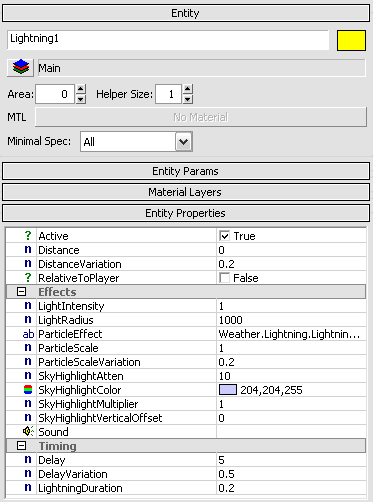
Activate it and change parameters like delay (in seconds) to get the right type of lightning
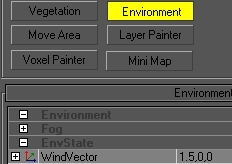
The global wind speed can bed adjusted by entering numbers (values in  Beaufort Scale) into the environment settings wind vector field. (positive y values means how fast wind moves to north, negative y south, postive x east, negative x west):
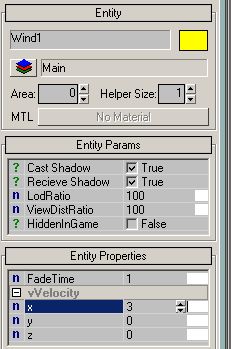
For each wind area create a shape and attach the wind entity to this shape. For a wind speed of 3 meters/second enter this settings:
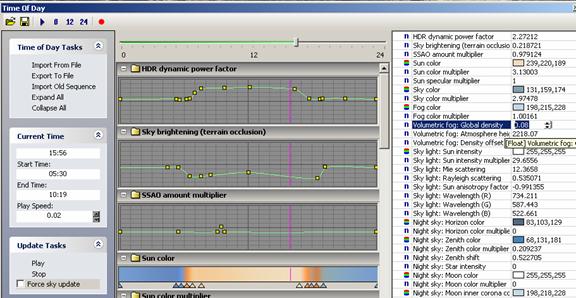
The global fog of the level can be adjusted in the time of day dialog:
For fog in certain areas you have to place the fog volume entity into your level:
Then adjust the size to cover the area where you want to have dense fog:
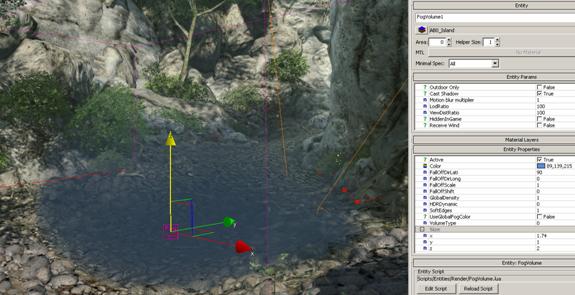
Adjust density and colours to the values you like. Use fog volumes to simulate fog below rainclouds:
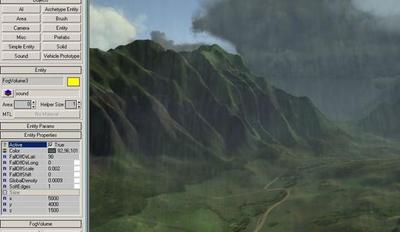
Without fog volumes rain clouds will look wrong:
Drag and drop the shake entity into your level (its invisible so don’t worry)
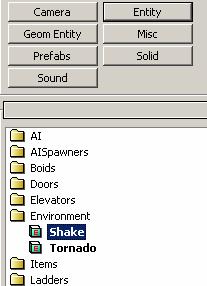
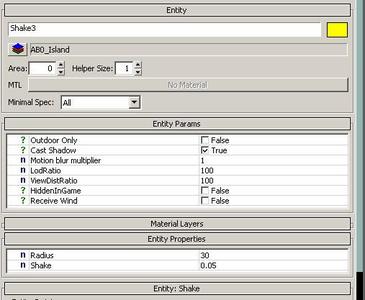
Set up the shake amount and radius in the properties:
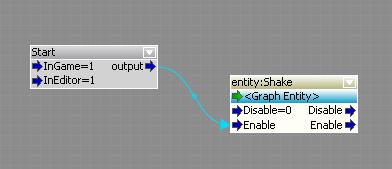
Enable the shake entity by adding it to a flowgraph:
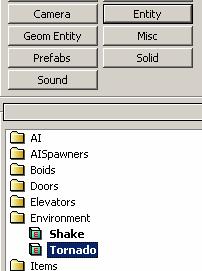
On the tornado properties you can change the wander speed to make it move faster around: