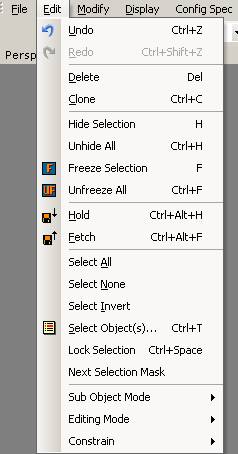
The Edit menu contains commands related to object manipulation and selection.
Undos the users last action (CTRL+Z).
Redos the users last action (CTRL+SHIFT+Z).
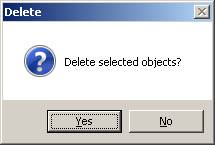
Deletes the selected objects, when you press the yes button on the confirmation window (DELETE):
Duplicates the selected object (CTRL+C).
Hides the selected object (H).
Unhides all hidden objects. (CTRL+H).
Freezes the selected objects so they can no longer be moved or selected (F).
Unfreezes all frozen objects (CTRL+F).
Hold (save) the current state (CTRL+ALT+H).
Fetch (restore) the saved state (CTRL+ALT+F).
Selects all visible, non-frozen objects.
Deselects objects currently selected.
Inverts the selection, so object currently not selected be come selected and objects currently selected become deselected.
This will brings up the Select Objects window in which you can select objects by double-clicking their name (CTRL+O).
In the Fast Select text box at the bottom of the list pane you can filter the list by entering letters and numbers. For example all objects containing the number “1” in their name

To sort the entire list alphabetically click the Name heading at the top-left of the list pane, to sort by type click the Type heading, by Layer click the Layer heading,by material click the Material heading and by smart object click the Smart Object heading.

On the right side of the window there are several selection methods:
Select
Same as double click on the objects name will select the object highlighted in the list view.
Select All
Selects all objects in the list view.
Select None
Will deselect all objects currently selected.
Invert Selection
Invert the selection, so object currently not selected be come selected and objects currently selected become deselected.

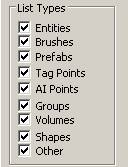
You can also filter the list to only display certain types of objects, for example to display only groups you need to disable all the others (entities, brushes…) in the List Types pane.
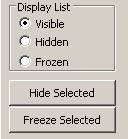
Display List
Can be changed from visible to hidden or frozen.
Hide Selected
Will hide all currently selected objects.
Freeze Selected
Freeze objects so they can no longer be moved or selected.
Auto Select
If auto select is turned on you need to make only a single mouse click to select them.
Display as Tree
Display as Tree will display linked objects in the correct hierarchy.

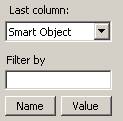
Last column:
The last column can be changed from smart object to AI group id.
Display as Tree
Filter by allows you to display only group ids or smart objects with the numbers or letters specified in this field.
Having an object in lock mode prevents that you can select other objects (CTRL+SPACE).
Selects the next selection mask (masks can be specified in the field with the pull down icon in the editing toolbar:

To save a new selection mask follow these steps:
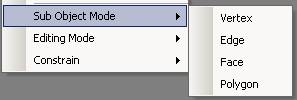
When an object is selected and using the edit mesh function you have the option to select and edit these components of the geometry:
Vertex
Enables you to click a corner point of your shape and reshape and resize using the Select and Move tool.
Not used.
Face & Polygon
Enables you to click a face of your shape and reshape by using the Select and Move tool.
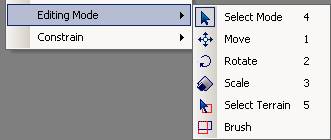
Select Mode
In Selection Mode you can select objects. Use this button to exit other modes such as vegetation placement or terrain editing mode (4).
Move
In Move Mode you can move objects around by clicking on the red x axis, blue z axis or green y axis helper and then holding the left mouse button pressed while moving around (1).
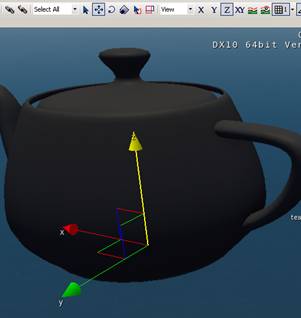
In the Status Bar, at the bottom of the screen there are also absolute coordinates that you can modify in order to change the position of the selected object.

Rotate
In Rotate mode you can rotate objects around by clicking on the red x axis, blue z axis or green y axis helper and then holding the left mouse button pressed while moving it (2).
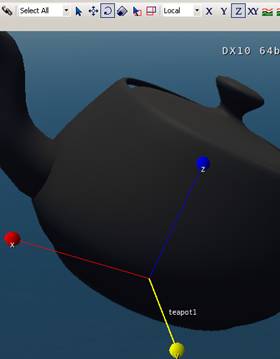
Scale
In Scale mode you can scale objects bigger and smaller by clicking on the red x axis, blue z axis or green y axis helper and then holding the left mouse button pressed while moving around. (3)
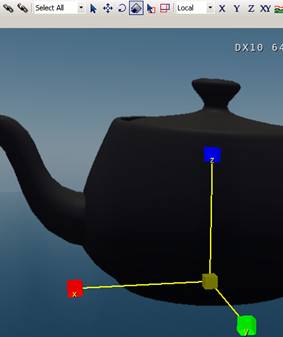
Select Terrain
When having this mode activated you can hold the left mouse pressed while moving it to another spot. This will create a white rectangle over the terrain surface. Then you can use the Terrain/Save Terrain Block Function to save the terrain geometry as .obj file and edit it in another 3D software (5).

Limits the movement to the X (CTRL+3), Y (CTRL+4), Z (CTRL+5) or XY (CTRL+2) Axis or to the surface of the terrain (CTRL+1).