The more non-linear your mission objectives are, the more time you need to spend testing them, so we recommend for starters to make a linear gameplay path: 1st objective complete triggers 2nd objective, triggers mission end.
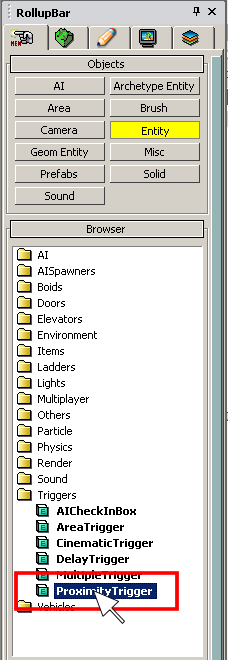
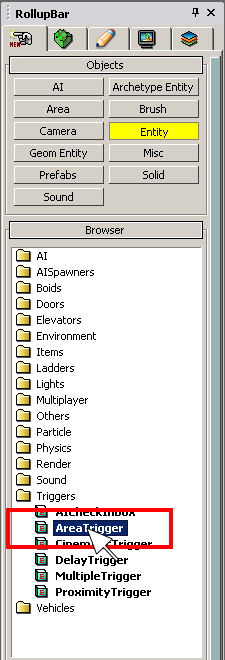
An AreaTrigger is split into 2 parts, the area and the Trigger. The Trigger is placed in the usual way.
Next create a Shape using the Area tool (found in the RollupBar in the Objects Type sub-menu) by clicking at 4 different spots and double-clicking to close the shape. Assign the AreaTrigger to the Shape using the Pick function while you have the Shape selected.
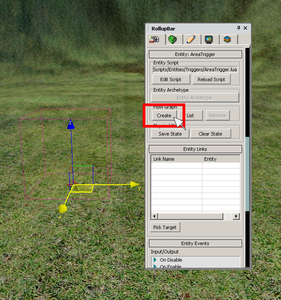
To define what a Trigger should do, a Flow Graph needs to be created. Select your Trigger, then click on the Create button in the Flow Graph section of the Entity properties.
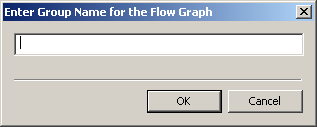
Specify a group name for your Flow Graph. It is good practice to organize your level in layers, then give your Flow Graph a name which contains the layer it mainly affects.
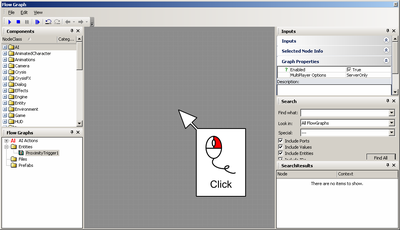
In the Flow Graph window right mouse button click(right-click) the empty field in the middle.
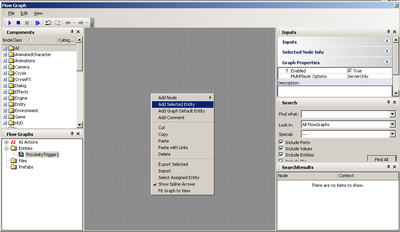
Select Add Selected Entity from right-click menu.
Make sure the ProximityTrigger Node can be seen, by zooming in with the mouse wheel or by setting Fit Graph To View.
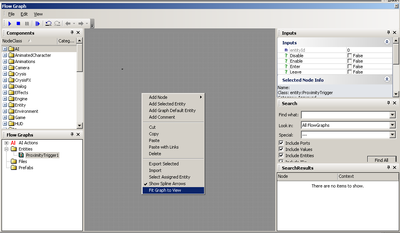
The ProximityTrigger Node has on the left side the input events and on the right side the output events.
Drag the MissionObjective entity to a place in the level where the player should go to.
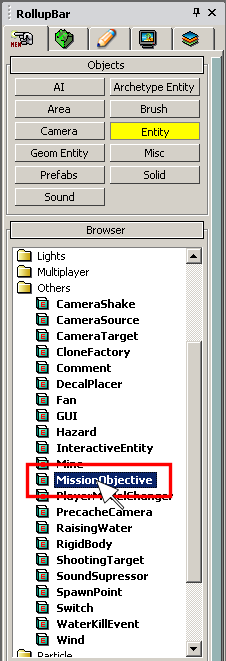
Open up the Flow Graph you created previously and then select your MissionObjective Entity in the perspective view.
Now, add the MissionObjective to the Flow Graph by right-clicking in the Flow Graph's main window and selecting Add Selected Entity.
Now, move your MissionObjective object next to the ProximityTrigger by clicking and dragging the object frame.
Once it is it in place, click on the Enter port in your ProximityTrigger, hold the mouse button down, and drag the mouse to the Activate port in your MissionObjective.
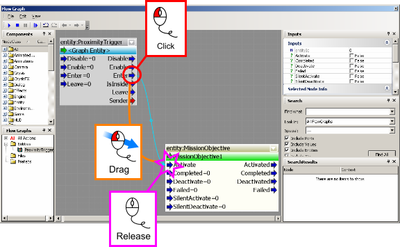
The Mission Objective has several other input and outputs:
Activate: 0 means objective is not activated and 1 mean it is activated.
Completed: Marks an objective in the PDA as completed
Deactivate: Removes an objective from the PDA
Failed: Marks an objective in the PDA as failed
SilentActive: Activates an objective without marking it on the PDA
SilentDeactivate: Deactivates an objective without marking it on the PDA
Once the player has finished his objective, let's load the next level (obviously you could trigger another objective after the first one, but for our test, lets load the next level).
You will get a warning in the console instead: [Warning] CCryAction: Suppressing loading of next level 'levelname' in Editor!