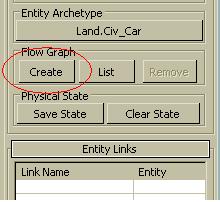
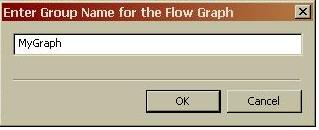
A new window will open, asking you to enter a group name for the graph. Enter a name and click ‘Ok’. This will create the new graph and put it in the group automatically.
The graph overview window will show the new graph and open it automatically. By right-clicking a graph icon in the overview window a context menu will open with additional options to edit the graph.
Deleting the graph by deleting the graph entity:
Simply select the entity select ‘Delete’ from the ‘Edit’ menu.
Deleting the graph without deleting the graph entity:
In the graph overview window right-click on the graph to be deleted and select ‘Remove Graph’
OR
Select the graph entity and click ‘Remove’ in the ‘Flow Graph’ tab in the properties of the entity.
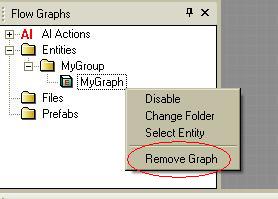
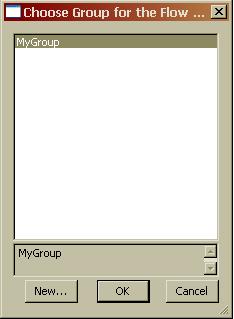
First, Right-click on the graph and select ‘Change Folder’. If no groups had been created before you will now be prompted to enter a new group name. Enter the desired group name and confirm it by pressing Return or clicking on the ok button. If one or more groups already exist in the level, a new window will open up in which you can select the group you want your graph to be placed in. Select the group and click ‘Ok’ to confirm, or select ‘New’ to open the group creation window to create a new group as described above.
.
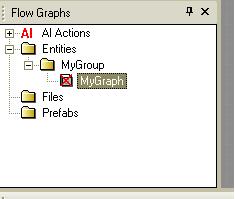
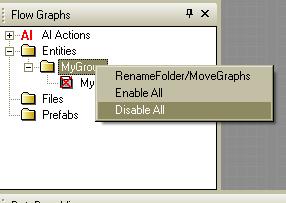
To disable all graphs in a group right-click on the group folder in the graph overview window and select ‘Disable All’. The selection of ‘Enable All’ will mark all graphs in the group as enabled again. When a level is exported while some graphs are still disabled they will not work in game as well.