Open the Editor. Go to View/Open View Pane/Facial Editor.
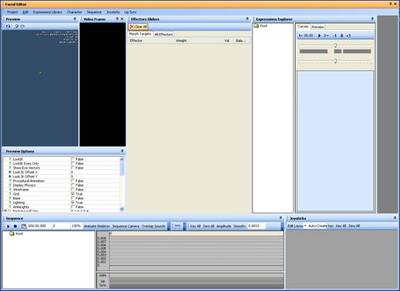
You can arrange the different views which are part of the main editor window by grabbing them on their main bar, and dragging them out of the main window.
(above you can see the setup we are using in production).
From the main tool-bar of the Facial Editor select Character/Load

In the file dialog select the file “Game/Objects/Characters/human_male/head.chr”.
You need to have the SDK Assets installed to access this character or other files referenced in this tutorial
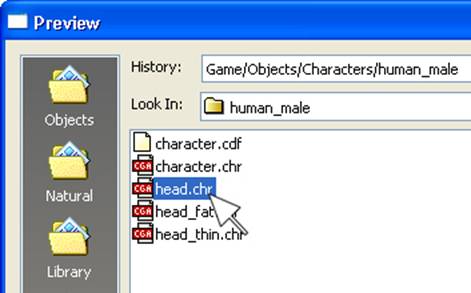
This loads your head character into the Facial Editor.
Effectors Sliders

In the “Effectors Sliders” view three morphs are showing up. They are called “Brow_lowerer“, “Jaw_pusher” and “jaw_dropper_01”.
In the following step we are going to create an Expression Library for the head.
This is where all the basic morph targets could be mixed together to create more complex expressions, like different moods (i.e. sad, happy, angry), or phonemes to use for lipsynch-animation.
Expression Explorer
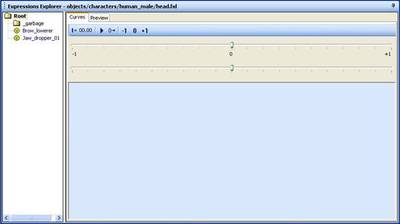
First create a new folder where the expressions get stored. Right-click the “root”-folder and chose “New Folder”.
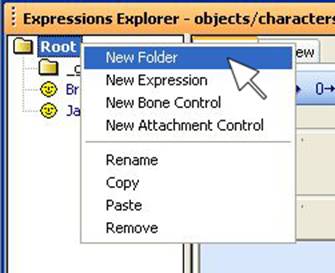

Enter the desired name in the text-box that opens and hit “OK”.
Right-click the newly created folder, and select New Expression.
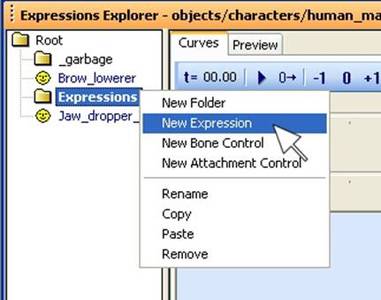
Type in “example expression” and confirm the dialog by hitting the “OK”-button.
This creates an empty “Expression-Container” where all morph targets and their influence to the resulting expression get stored.
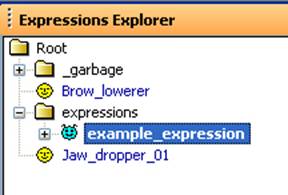
Go to the “Effects Sliders” view, and move the weight slider of any morph you want to add to the expression to an appropriate value. The result is visible in the Preview window.

Once satisfied, right-click on the new expression in the “Expression Explorer” view, select “initialize from sliders” and confirm the following dialog by selecting “Yes”.
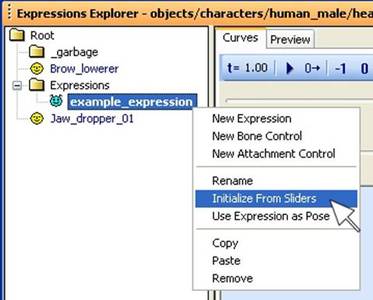
This adds the morphs which have a value set other than zero to the “example expression” node.
On the right side of the Expression Explorer view, a linear curve is created for each of the morphs which have been added to the expression while initializing it. The displayed weight curves visualize how strong each morph contributes to the resulting shape of the character.
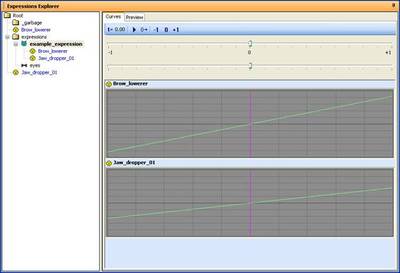
The purple line represents the “zero” value when the expression is animated in the sequence view later on, going up to “+1” for full influence on the right side or “-1” to the left.
Once you are done with creating all the different expressions you need for your character, save the expression library by going to Expression Library/Save As in the Facial Editors main tool-bar. Call it “head.fxl”, and save it to this folder:
“Game/Objects/Characters/human_male/”
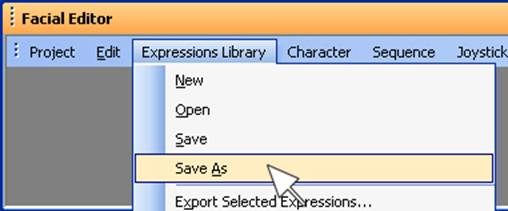
To load the right expression library automatically next time you use this character, a cal file is used to point to the correct library-file for the head.
Create a new empty txt-file, add this line:
”$facelib = objects/characters/human_male/head.fxl“
save it as “head.cal” to this folder:
“Game/Objects/Characters/human_male/”
Next time the character is loaded it will automatically use the expression library which is specified in the cal-file.
The cal-file always needs to be named like the head.chr, and needs to stay in the same folder.
The “Sequence View” is where you add your expressions or morphs from the “Expression Explorer” to animate them. Right-click the root-folder (which is there by default) and select “New Folder” from the menu. In the dialog that opens enter “animated expressions” and confirm it.
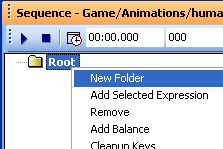
Highlight the “example_expression” in the “Expression Library” view by left-clicking it. Then right-click on the “animated expression” folder in the sequence-view, and chose the “Add Selected Expression”-command.
This adds the highlighted expression from the “Expression Library” to the “Sequence View”.
Now you can start animating the expressions you added by placing keys on its curve, either by double-clicking it, or by using the “R”-shortcut, which places a key at the time-slider’s current position.
To save the animation, go to Sequence/Save As in the main toolbar of the Facial Editor.
This concludes the basic requirements to set up a head for facial animation. To be able to re-use already done expression libraries, or joystick-files and sequences, it is advisable to keep the naming convention for the morphs the same for all your head characters.
The Facial Editor also supports bone-driven animations to animate bones from the characters hierarchy inside the Editor.
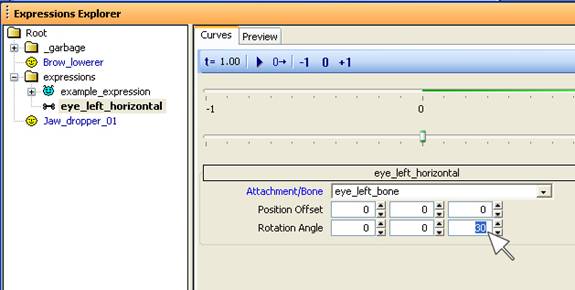
In the “Expression Explorer”, right-click a folder and select “New Bone Control”. Enter “eye_left_horizontal” in the dialog and confirm it.
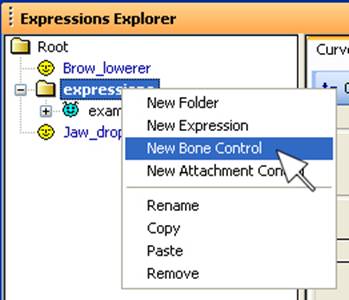
When the bone control is highlighted, you can see its options on the right side of the “Expression Explorer” view.
Open the drop down-list beside “Attachment/Bone” and select the “eye_left_bone”.
In the position and rotation settings below you can define a position offset for an attachment and the axis and its limits about which the expression can rotate the bone.
Enter 30 for the “Rotation Angle” in the right box, which stands for the Z-Axis. This gives the eye-control an overall range of 60 degrees. 30 degrees when the expressions value is at “+1”, and -30 degrees when it is at “-1”.
